|
We've made a lot of these. We've gifted several as wedding gifts, making all the parts from shower invitations, bachelor(ette) party invitations, thank you notes, and wedding invitations. We've sold a few (and offer a few still) decorative ones in pretty color combinations made from various card stock in our booth in the Alpharetta Queen of Hearts. Now we've decided its time to bring our very cool decorative ball to you. 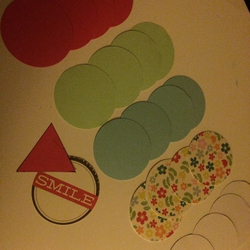 Our kit will make one decorative ball that can be placed on a surface. If you add a ribbon or string, it can be hung instead! Our kit comes with:
What you need:
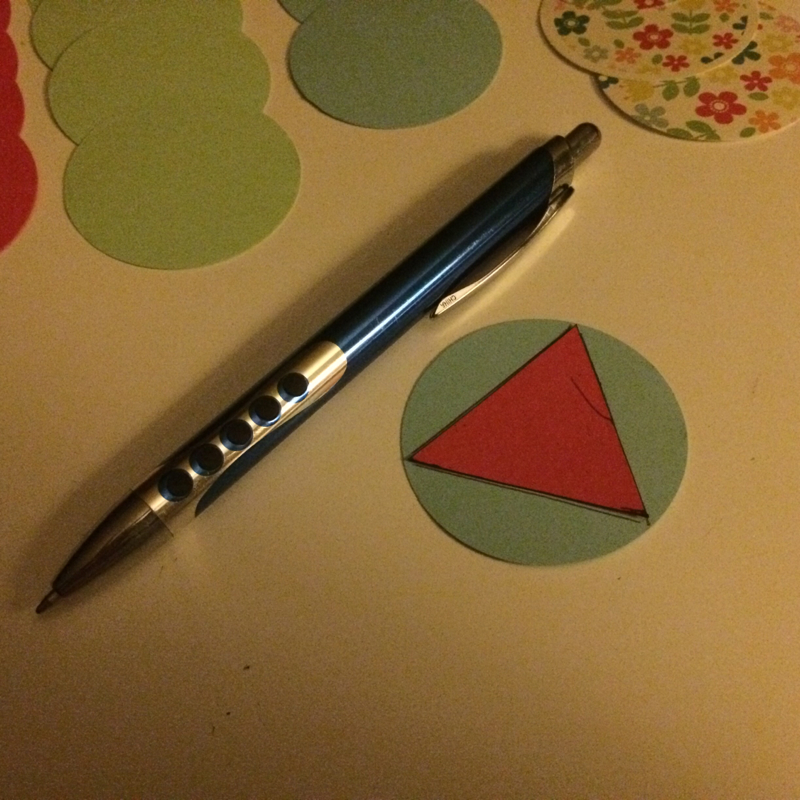
This project should take about 30 minutes to assemble. Inside the kit, you'll find 21 2" circles. You only need 20, so we include one as an extra in case you need it. Our standard kit includes 5 different colors/patterns, and each one is already marked with folding lines on the back side.
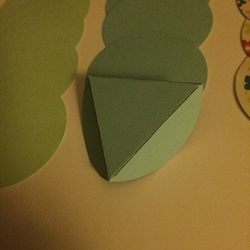
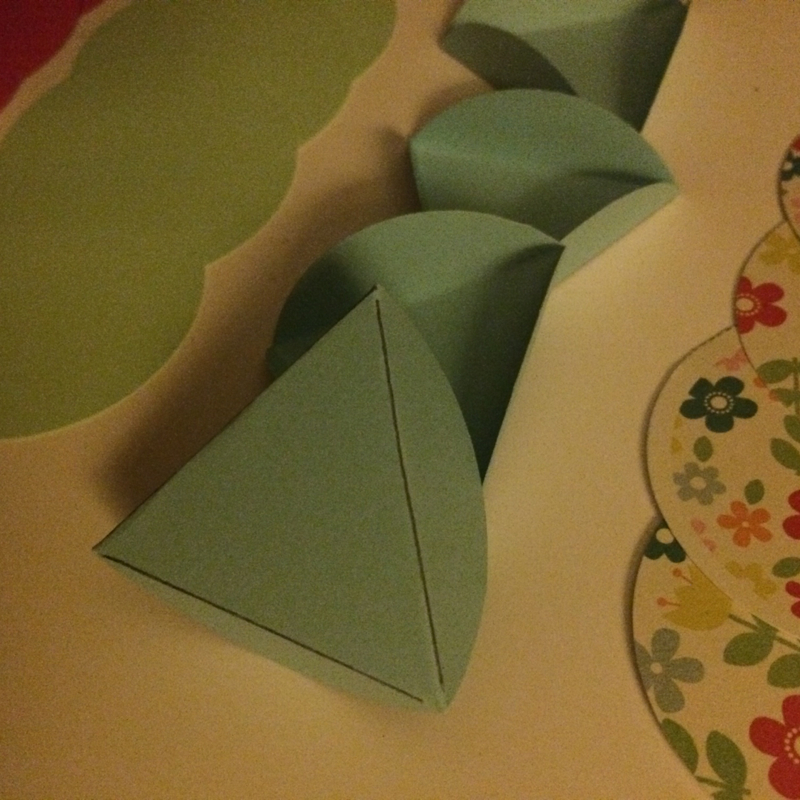
If they're not already folded, be sure to fold them up, away from the lines. All 20 of them should be folded.
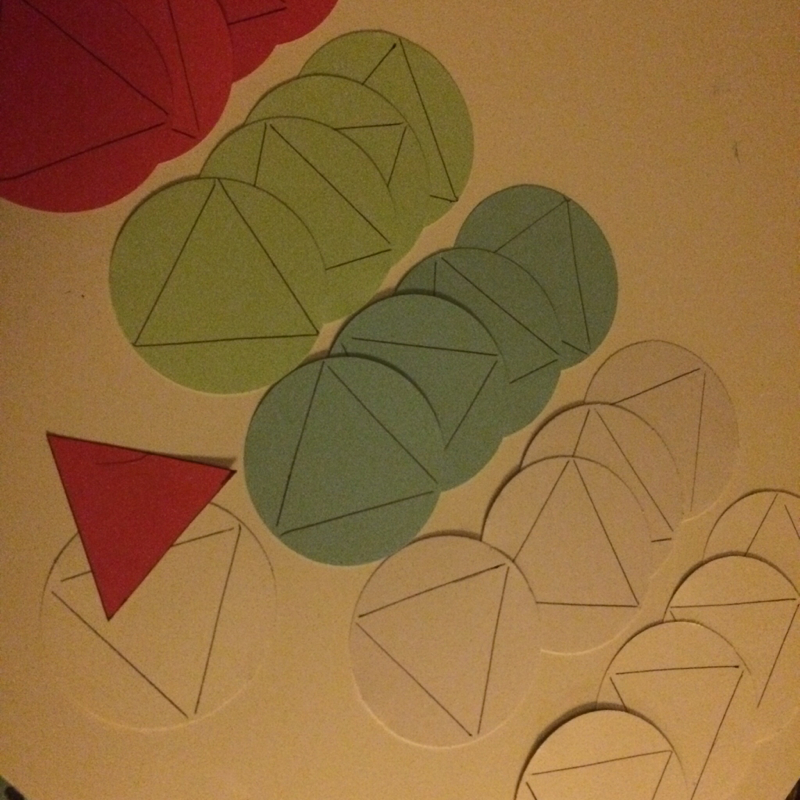
We already worked out a pattern, as you can see in the example below. 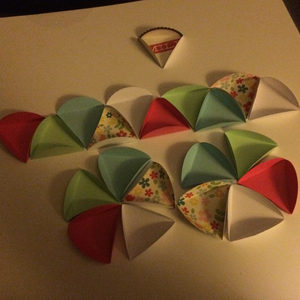
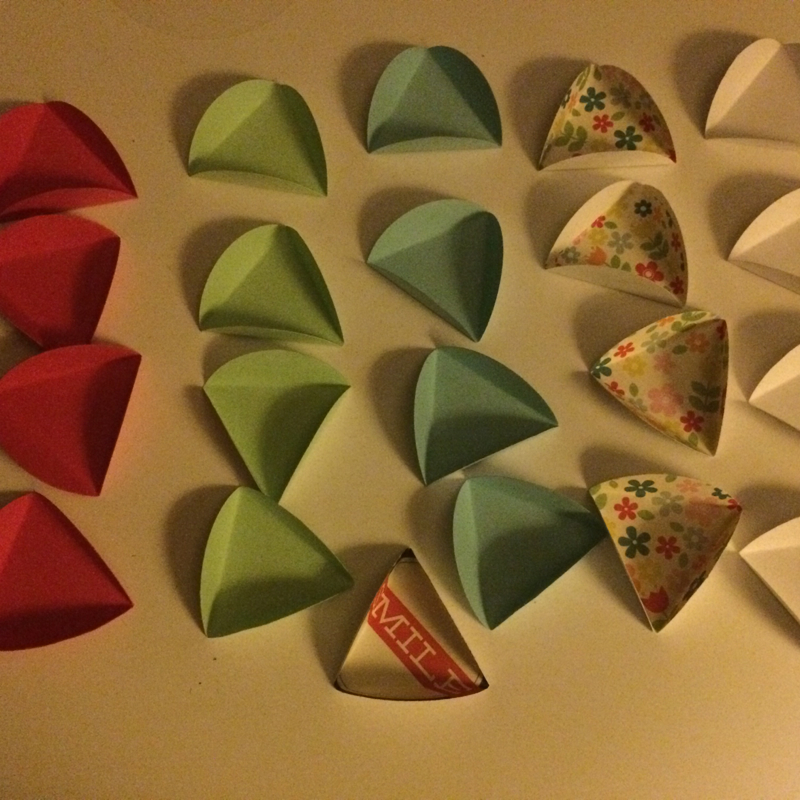
We've also marked each one with numbers, as you can see from the example below. To follow our pattern, we suggest you start by hot gluing the 1s together, then the 2s, all the way through to 30. If you want your decorative ball to hang like an ornament, you'll want to loop the 6" ribbon or string in half, and glue it in the corner after you glue the 29s but before the 30s. 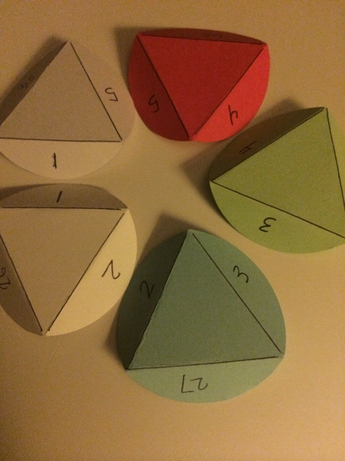
When you're done, you'll have something like this. You'll need to clear away the hot glue strings, and then it will be all done and ready for decorating! 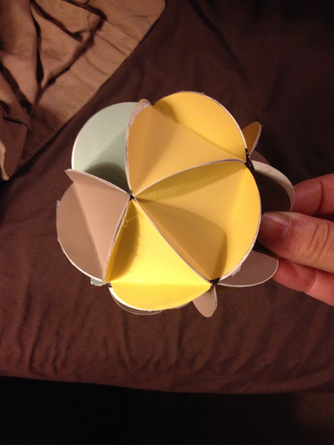
Now, we think that these have a lot more potential than being "just" a pretty decoration. With a little bit of creativity and inspiration, these can become very special decor items, or even gifts for loved ones. Here are some ideas we have. If you have other ideas, but aren't sure how to make them work, email us at [email protected] and we can brainstorm with you!
Involve the Kids The kit in the example includes four white circles. You could have each family member sign their name, fingerprint, write a memory, or color something. Then you can gift it to a grandparent, auntie, teacher, or close friend. Involve the Pets Just like the kid example above, you could include a pawprint from your pet. Involve the _____________ These would be great for a family reunion activity, a bridal or baby shower activity, or a craft with a kid's group. What else could be done? Tell us your ideas, or better yet, send us pictures of your finished work with our kits! You can always find us at [email protected]. Have feedback, questions, or comments regarding our instructions? Let us know at [email protected]! Until next time...Sunshine @ TPH
2 Comments
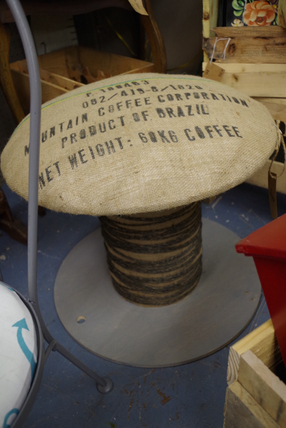
Mrs. Paint is a woman of many talents. We knew she could paint & style like no other, but it looks like our TPH project has unleashed another skill: upholstering! As our co-owners began creating more and more items from salvaged materials, we found ourselves in need of pretty cushioned tops. Enter Mrs. Paint's slumbering talent. The first thing we saw her upholster was A salvaged wire spool. 
Then she upholstered the hall tree. 
And a lid for a wire basket, another couple of salvaged wire spools... 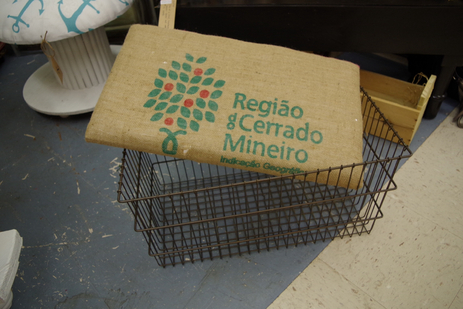

And even chairs! 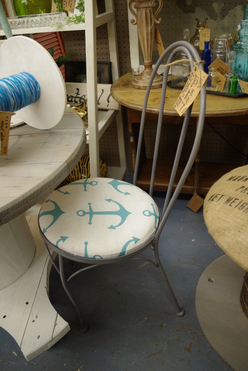
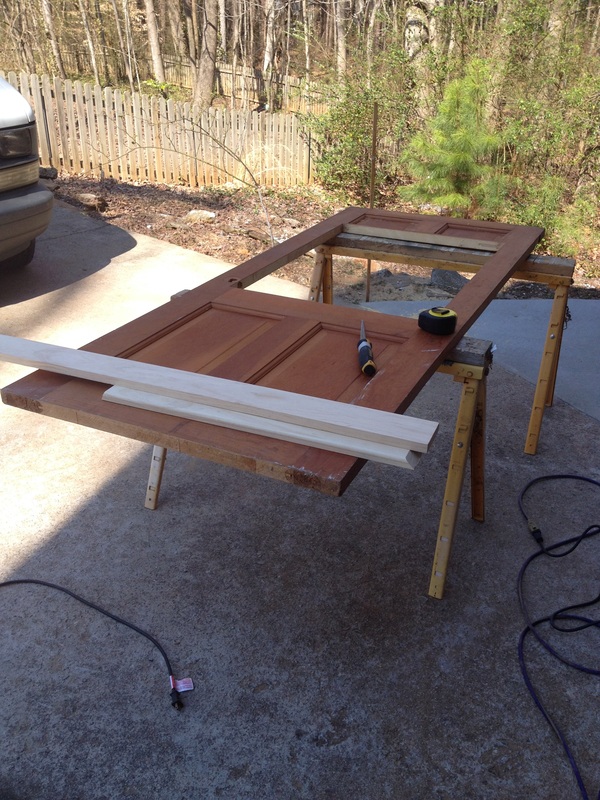
We can't wait to see what she covers next! Sunshine @ TPH (Update: this hall tree sold! Although it is no longer available, contact us if you want one made just for you.)  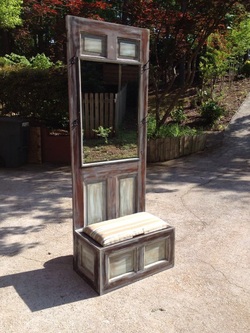 My oh my. Have you seen this beauty? We took it in to the Alpharetta Queen of Hearts on Thursday night. I knew it was cool, even from the beginning. Shane and Audrey started planning this the second they got their hot little hands on a batch of doors, and it is finally real. I didn't realize how cool it was until I posted it to our Facebook page and got a record 250+ views, 2-3x more likes than our average post, and more commentary than I've ever seen on a post before. My awareness became even more heightened when we showed up at the Queen and got lots of stops and inquiries. I'm predicting this item will sell before the weekend is over. I'll let you know if I'm right or wrong. Either way, we're doing something right with this lovely piece. Let me show you how Shane & Audrey's talent brought this hall tree from a salvaged door to the awesome piece of furniture that will adorn someone's entry way or hall way or other living space!
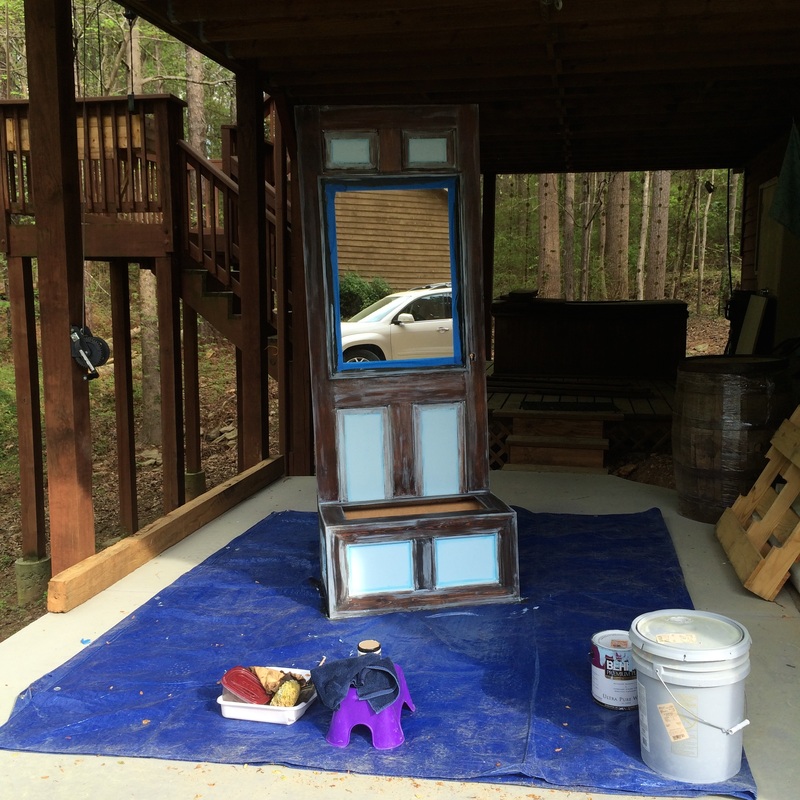
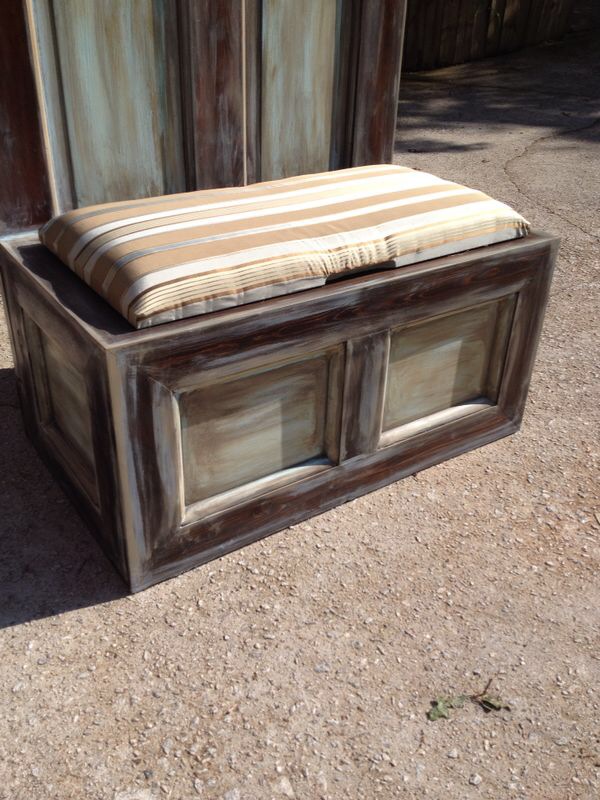
Once Shane made the door into a hall tree with a storage bench, Audrey took over and upholstered the bench and painted the piece.
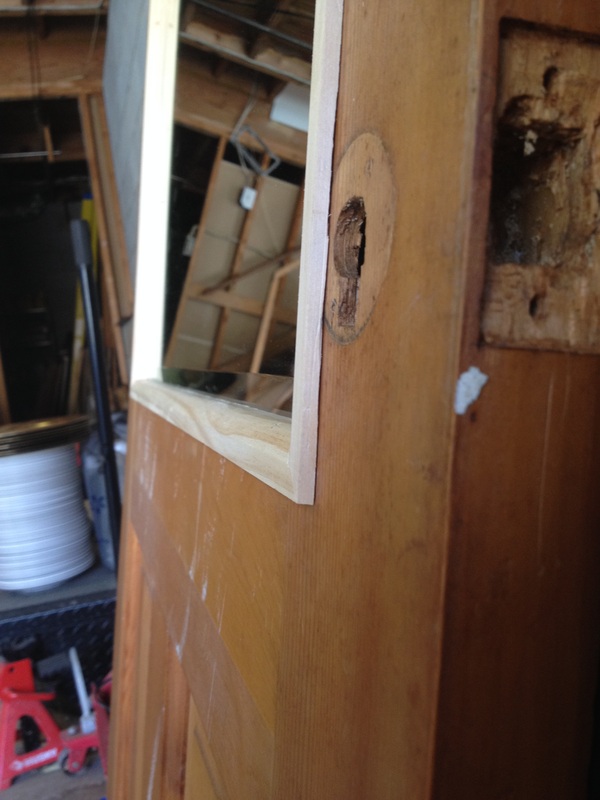
Of course, after the paint & upholstery is finished, Shane added the hardware. So not only does this have storage and a bench to sit on, but it also has two very good 3-way hooks and a door knocker. The door knocker may just be an embellishment, the jury's still out on that.
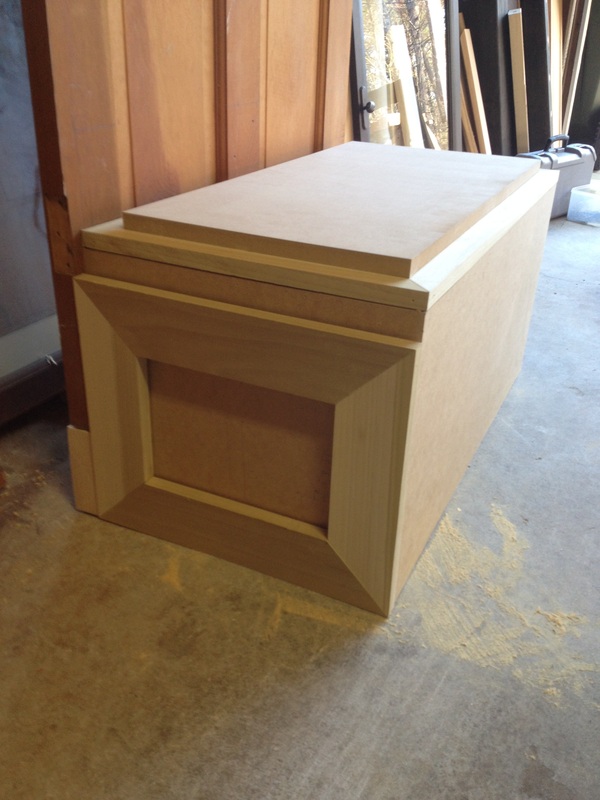
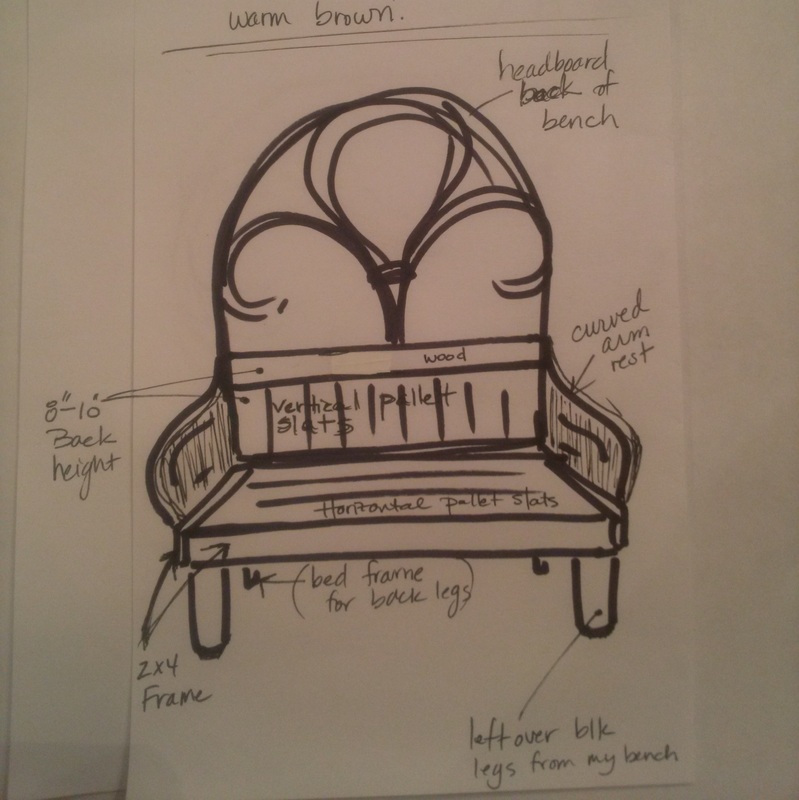
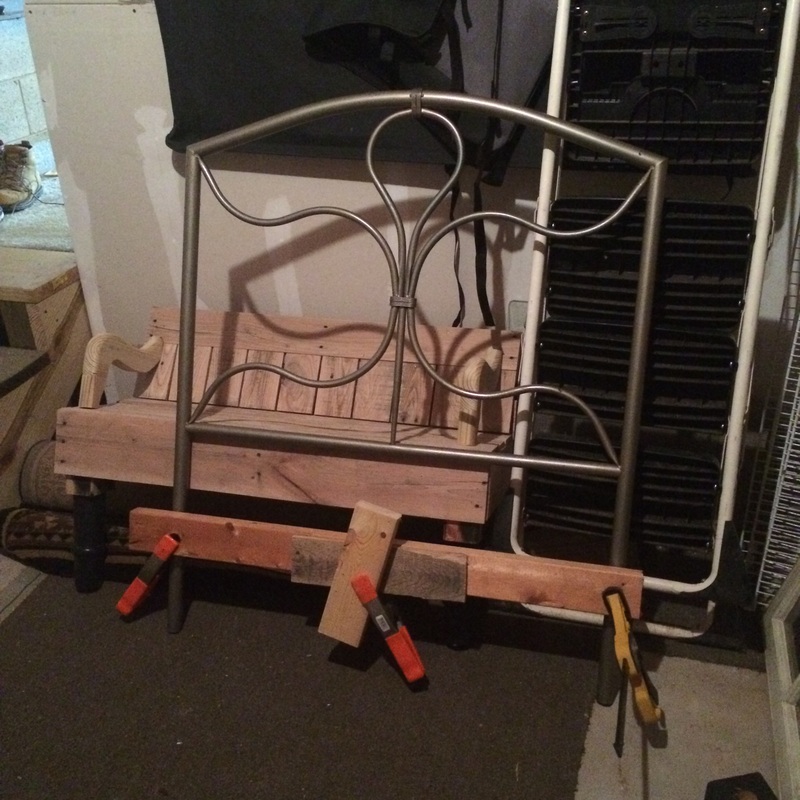
The fun has really just begun. I can't wait for someone to buy this and love it and set it up in their home. I can't wait for Audrey & Shane to start on their next one, which will be so different and awesome in so many other ways. I also hope that our piece inspires others to create their own hall trees or to go find one that works for their space. If you are reading this and end up with this piece or a piece like it because of this blog post, do let me know ;) TPH  Before the hall tree and before the upcycling of the wire spools, there was the headboard bench. It was my first true love at The Painted Hammer, for one very important reason...it was the first pure design & build collaboration between Shane and his sister. They had done several things together at that point, but they were more like placing an order and taking an order. Shane would say, "hey, I'm making these shelves that spell out L-O-V-E, and I need you to paint them, okay?" So Audrey would paint them. Audrey would say, "hey, I need a piece of wood that is 3'x2' that I can upholster, and I need you to cut it for me, okay?" So Shane would make it. The hall tree was more organic and collaborative. Audrey acquired a metal headboard. She showed Shane. She said she'd been thinking about making it the back of a bench constructed from salvaged pallet wood, and she had a sketched out idea.
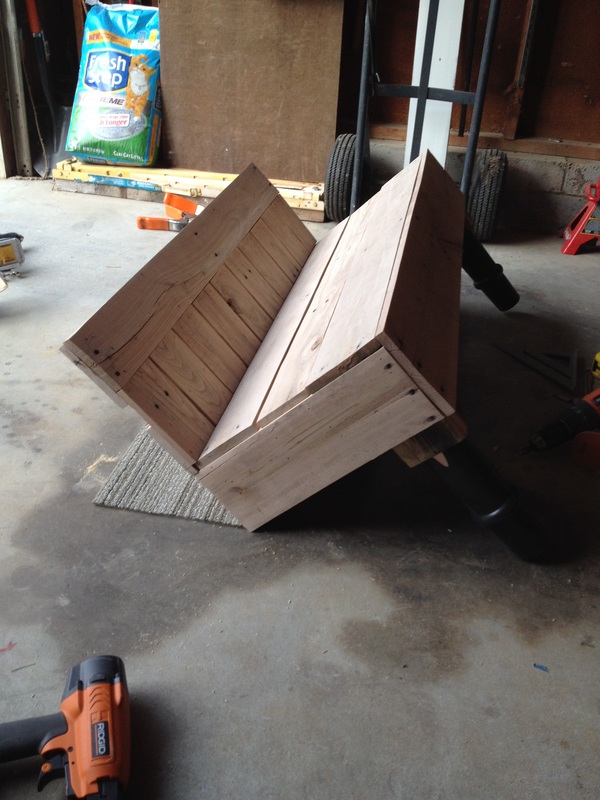
Shane started work on the bench, making changes to Audrey's design where he needed to or had inspiration to. They talked throughout the process too, passing snapshots and ideas back and forth.
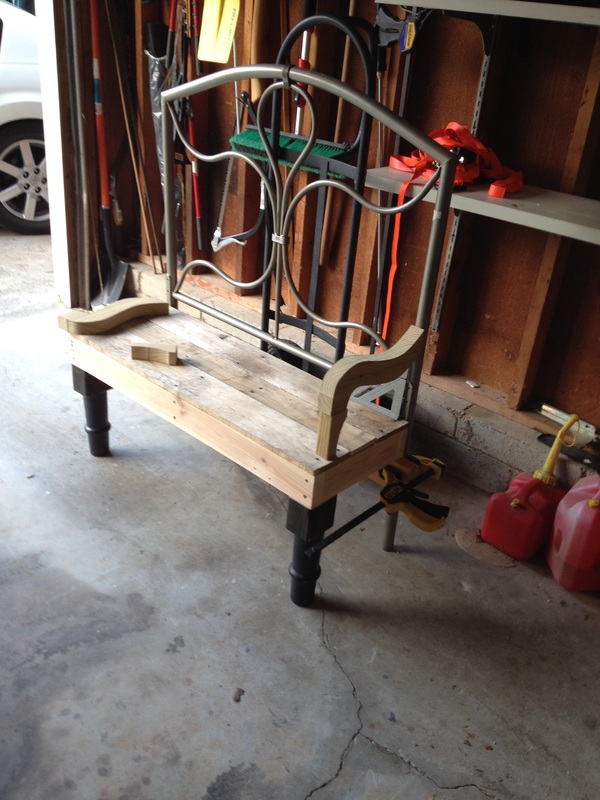
And then it was complete. They had designed and built something pretty amazing, which Audrey then finished. 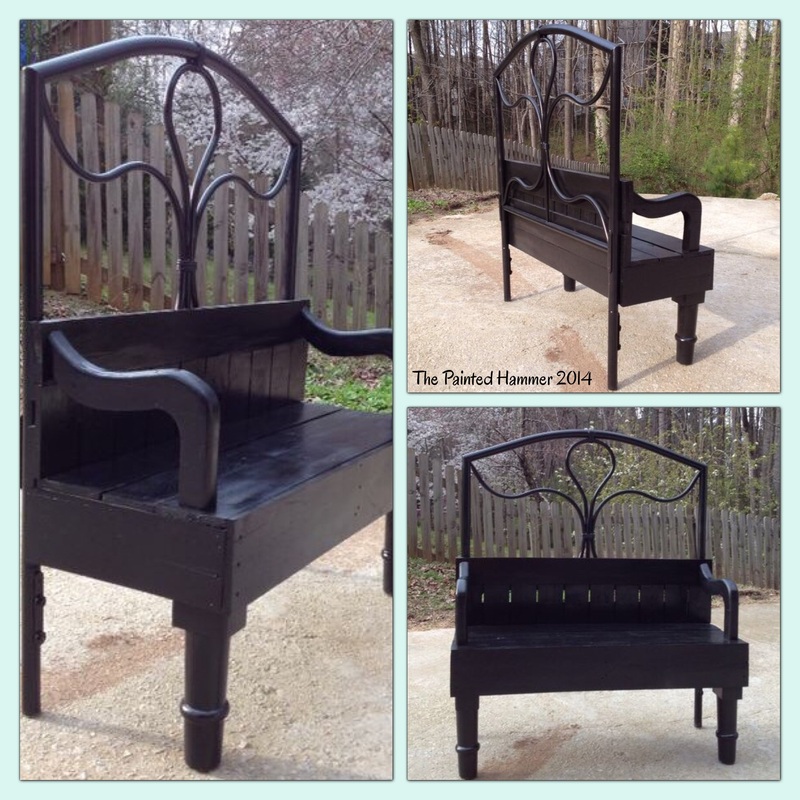 I look forward to many, many, many more of these originals from Audrey and her brother. And I look forward to sharing them with you.  Progress! Mr. Hammer spent another slice of time working on the custom modular shelving project. He finished one 21' wall, end-to-end and top-to-bottom. 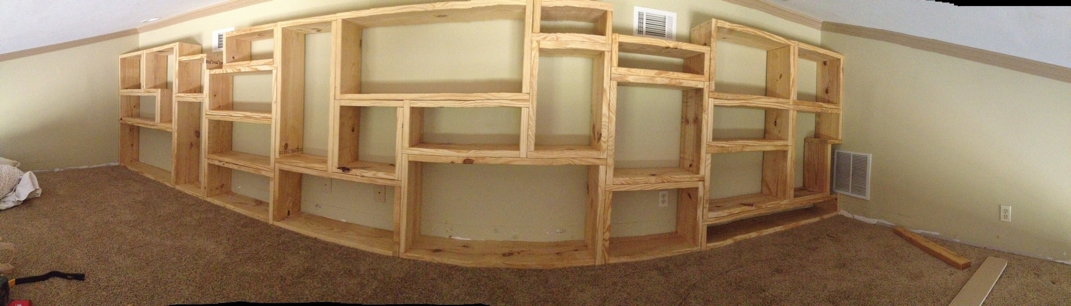 He got fancy with the panorama shot, but it was a necessity since it was the only way to capture the whole unit! Until next time...  Our Mrs. Paint has done it again. Remember when we gave her the medium reel from our small, medium, and large trio of reels? After that happened, we sent the large one to her house. 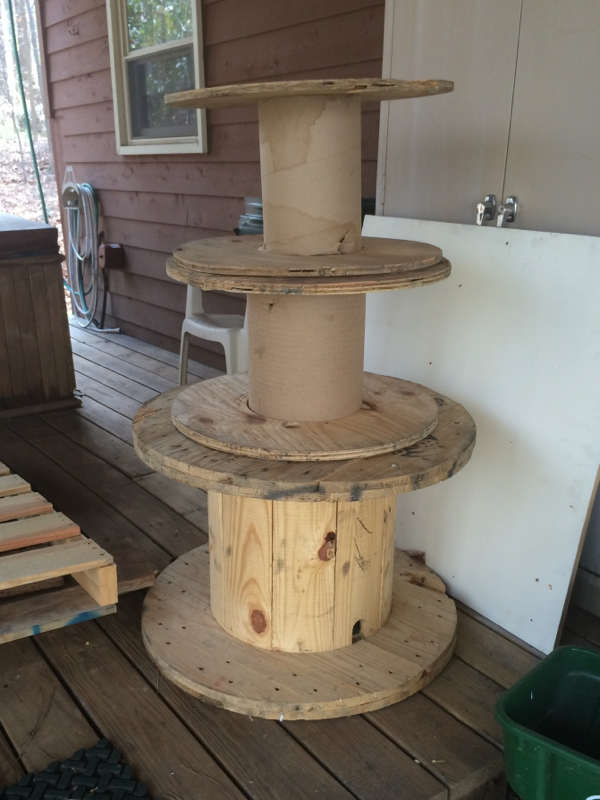 Our reel collection. You can see the before of the large reel here. 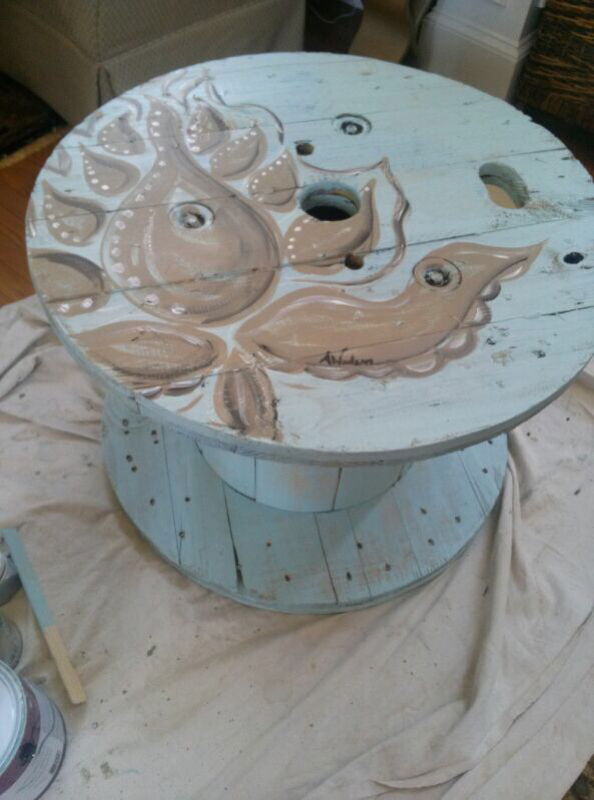 The large reel, after. Sadly, the small reel is still at my house. But not for long...
 I am endlessly envious of our dear Mrs. Paint's creativity. We got a stack of used electrical reels because I had seen a cool picture using one in a magazine once upon a time, and in no time, we found ourselves the happy owners of an ottoman to sell. Here's how it went. Stack of electrical reels at my house: 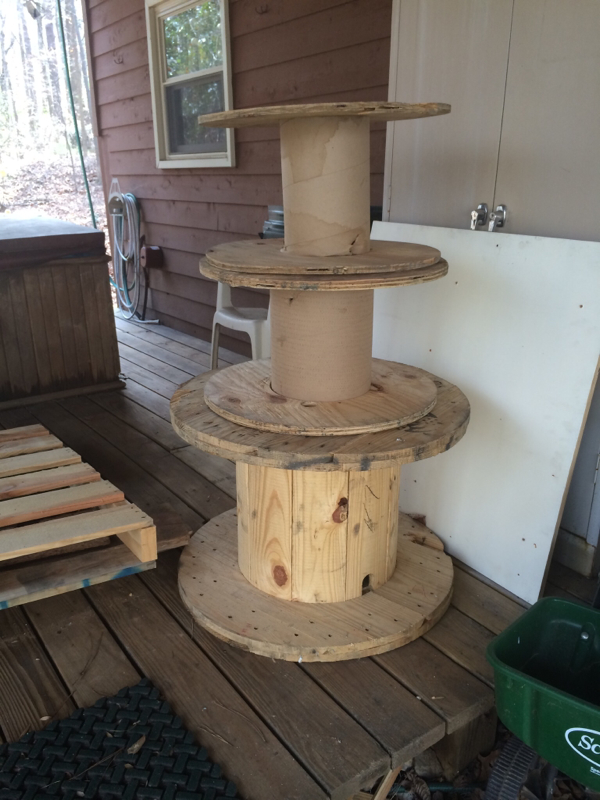 The same stack of electrical reels at Mrs. Paint's house: 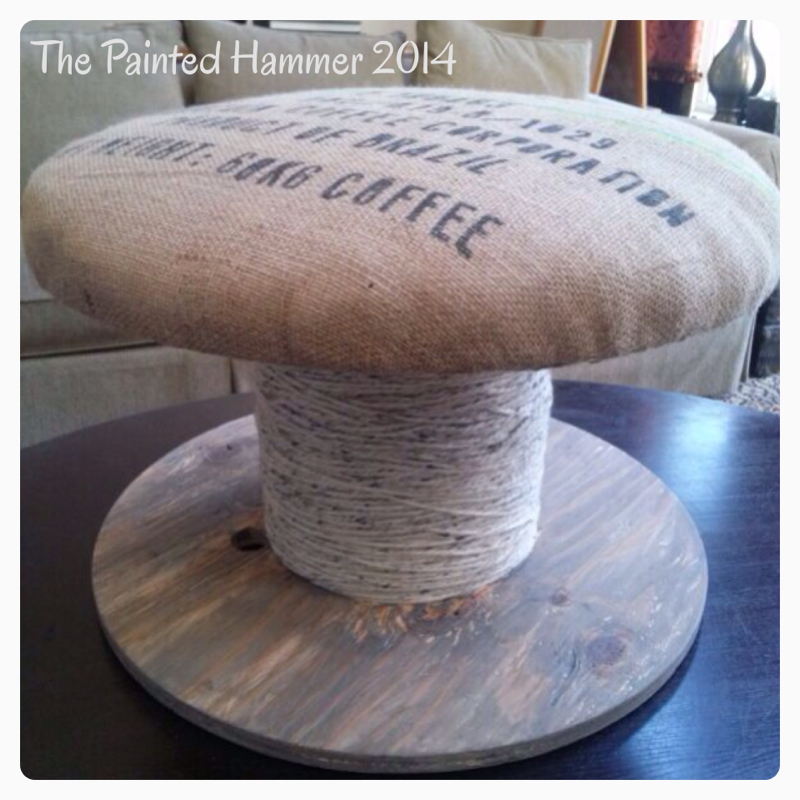 I feel this way about everything at her house v. everything at my house. Our designer is a lady with talent, and I'm proud to know her!
Anyway, shortly after all this magic happened, the amazing ottoman found its way to our space at The Queen of Hearts in Alpharetta...and was promptly purchased (thank you shopper)!!! I need to send more of my junk over to Mrs. Paint's house, don't I?  Construction of client M's custom modular shelving walls has officially begun! The design that Shane created with M (see that part of our story here) is steadily taking shape, although a lot more sawing & hammering & hammering & sawing has to take place before paint can even be considered. As you can see in the low resolution snapshot below, one of the 21' walls is nearing completion. Once it is done, the open side can begin. 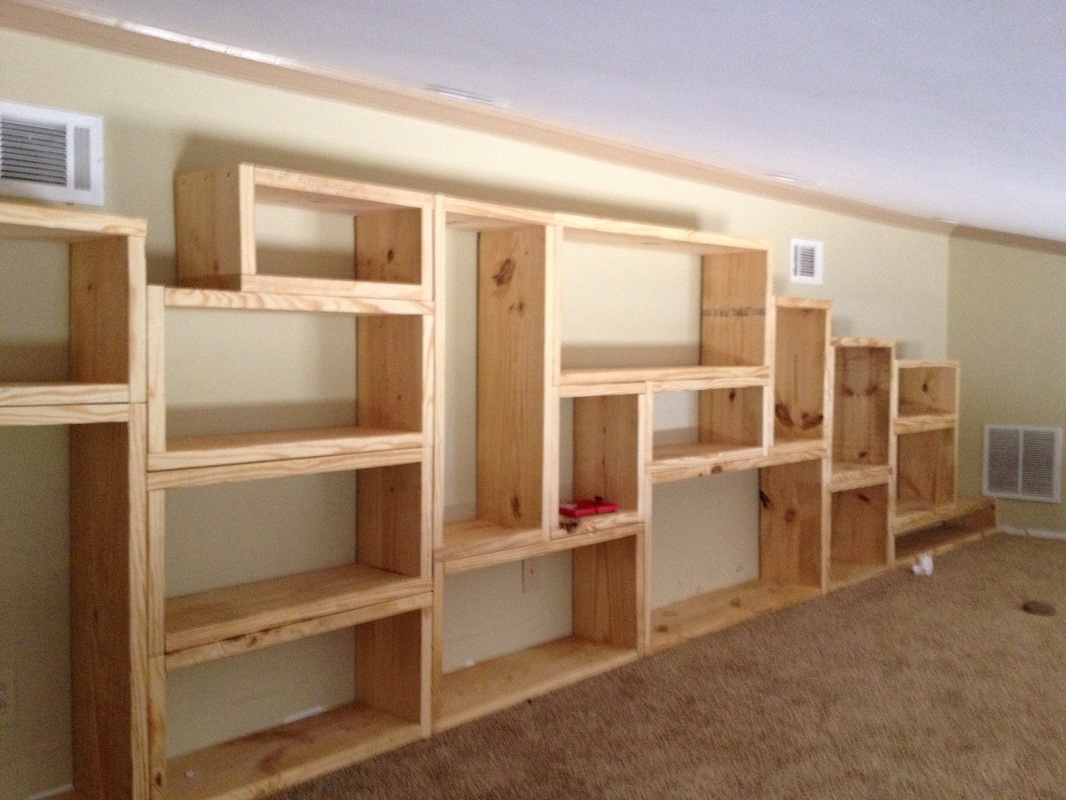 As this project progresses, I get more and more excited about the amazingness that will be the end result. I will keep you updated here, I promise.
 When our modular box shelves first debuted in our booth at The Queen, I made a big deal about them because I thought they were pretty amazing. I promoted them in every way I could think of: I posted them on our Facebook page, I blogged about them, and I shared them on Instagram. And someone responded! We have a client for a custom set of modular shelves! Let's call her M (for now...we'll debut her name when we debut the finished project). Sweet M has a loft space in her home that her children spend a lot of time playing in. It is about 21 1/2' wide and about 12' deep and overlooks another play/living area. M wants to put custom modular shelving against the back wall and to create a faux wall for the overlook. I sent Shane over straightaway to check out the situation. He met with M, they talked over things, and this plan was imagined: 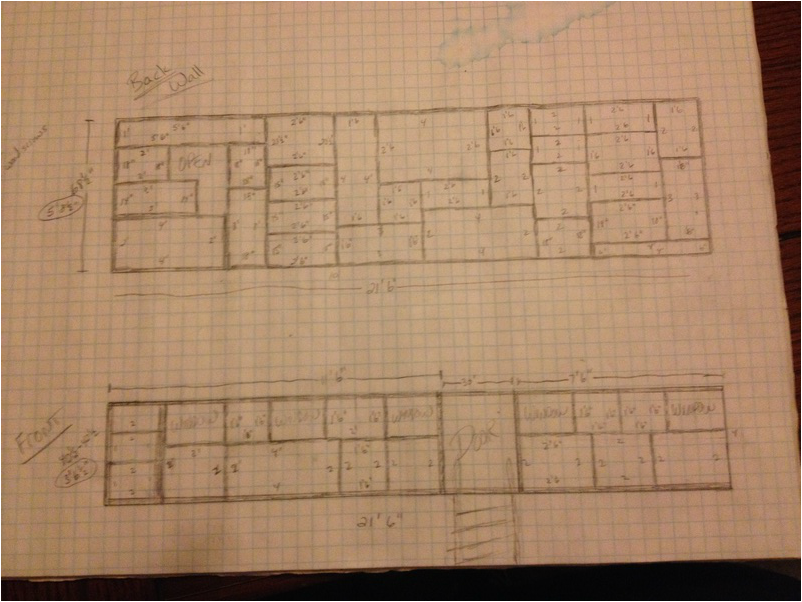 Now that a design is agreed upon, everything now hinges on the weather, believe it or not. This project is so massive that we need a good weather weekend when both M and Shane are free because the materials need to be cut and assembled on site.
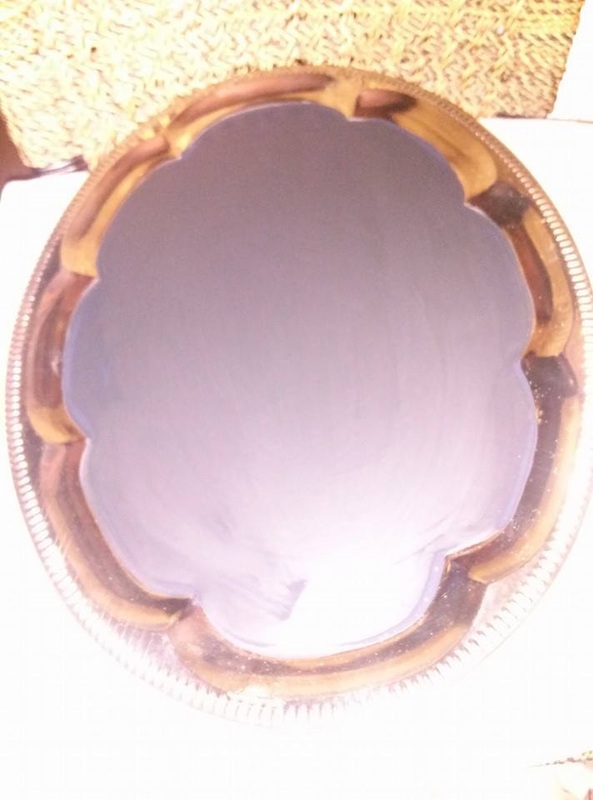
That's all we have to share for now, but we can't wait for part 2!  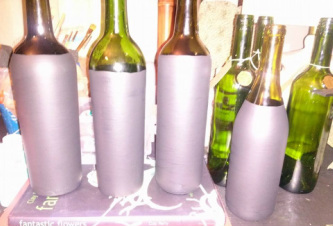 Our amazing designer has taken advantage of being cooped up during Snowmageddon 2014, and has started work on at least one project I know she has had planned for some time. Chalkboard painting! So far, Audrey has done her magic with wine bottles & silver trays. She's breathing new life into things that were either tucked far away in storage or destined for recycling. These bottles & trays now have the potential to become a part of someone's kitchen or living room decor, or maybe part of a tablescape for an upcoming party. I can think of at least 5 different ways to use these upcycled items, and I bet Audrey can think of 20 more. Here are some pictures of the work she's done so far. Enjoy!
|

 RSS Feed
